Installation Guide
How to Install Your Wallpaper or Mural
You don’t need to be a pro to create a magical space. Whether you choose Peel & Stick or Prepasted Smooth, both are designed for simple, stress-free DIY — even if it’s your very first time. And don’t worry — every order comes with a printed step-by-step guide in the box, so help is always on hand.
Before You Begin: Prepping Your Wall 🧽
✅ Repair Imperfections: Fill holes or cracks and sand any rough patches for the smoothest results.
✅ Fresh Paint? Let new paint cure for at least 2 weeks before installation.
✅ Remove Old Wallpaper: Any old wallpaper or sticky residue can affect adhesion — start with a clean slate.
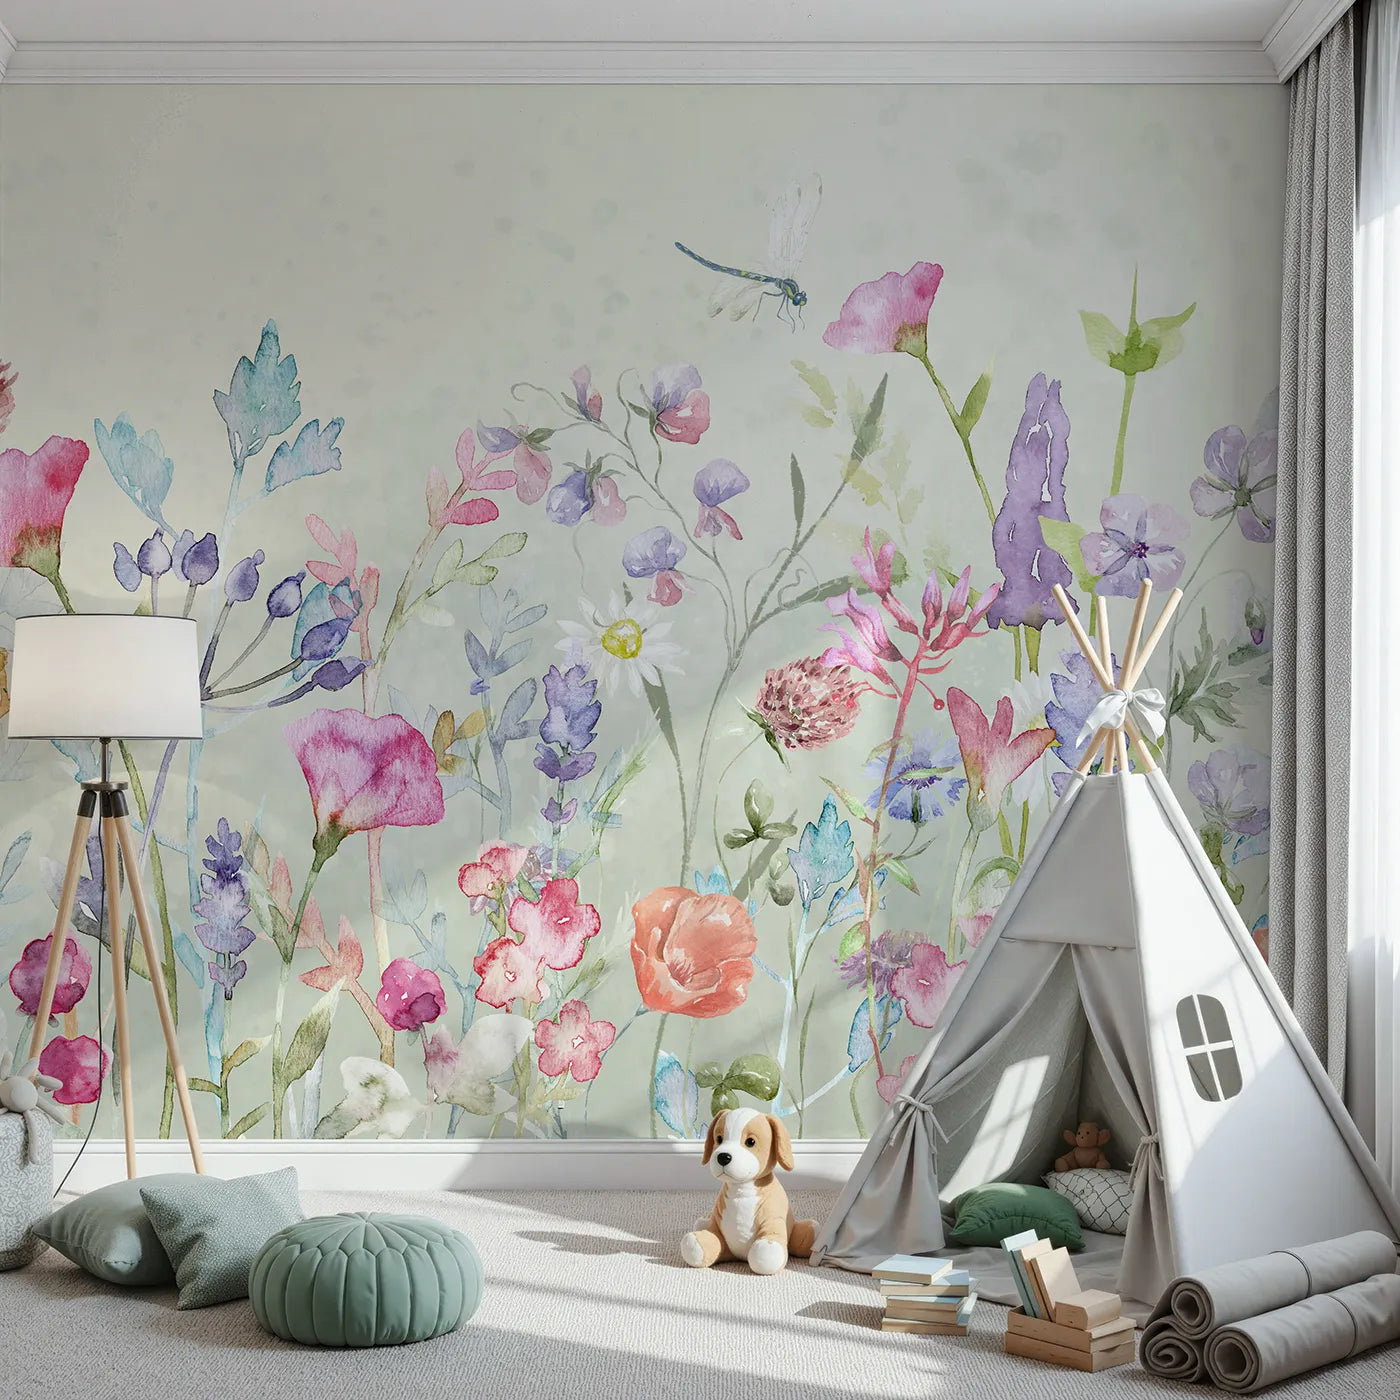
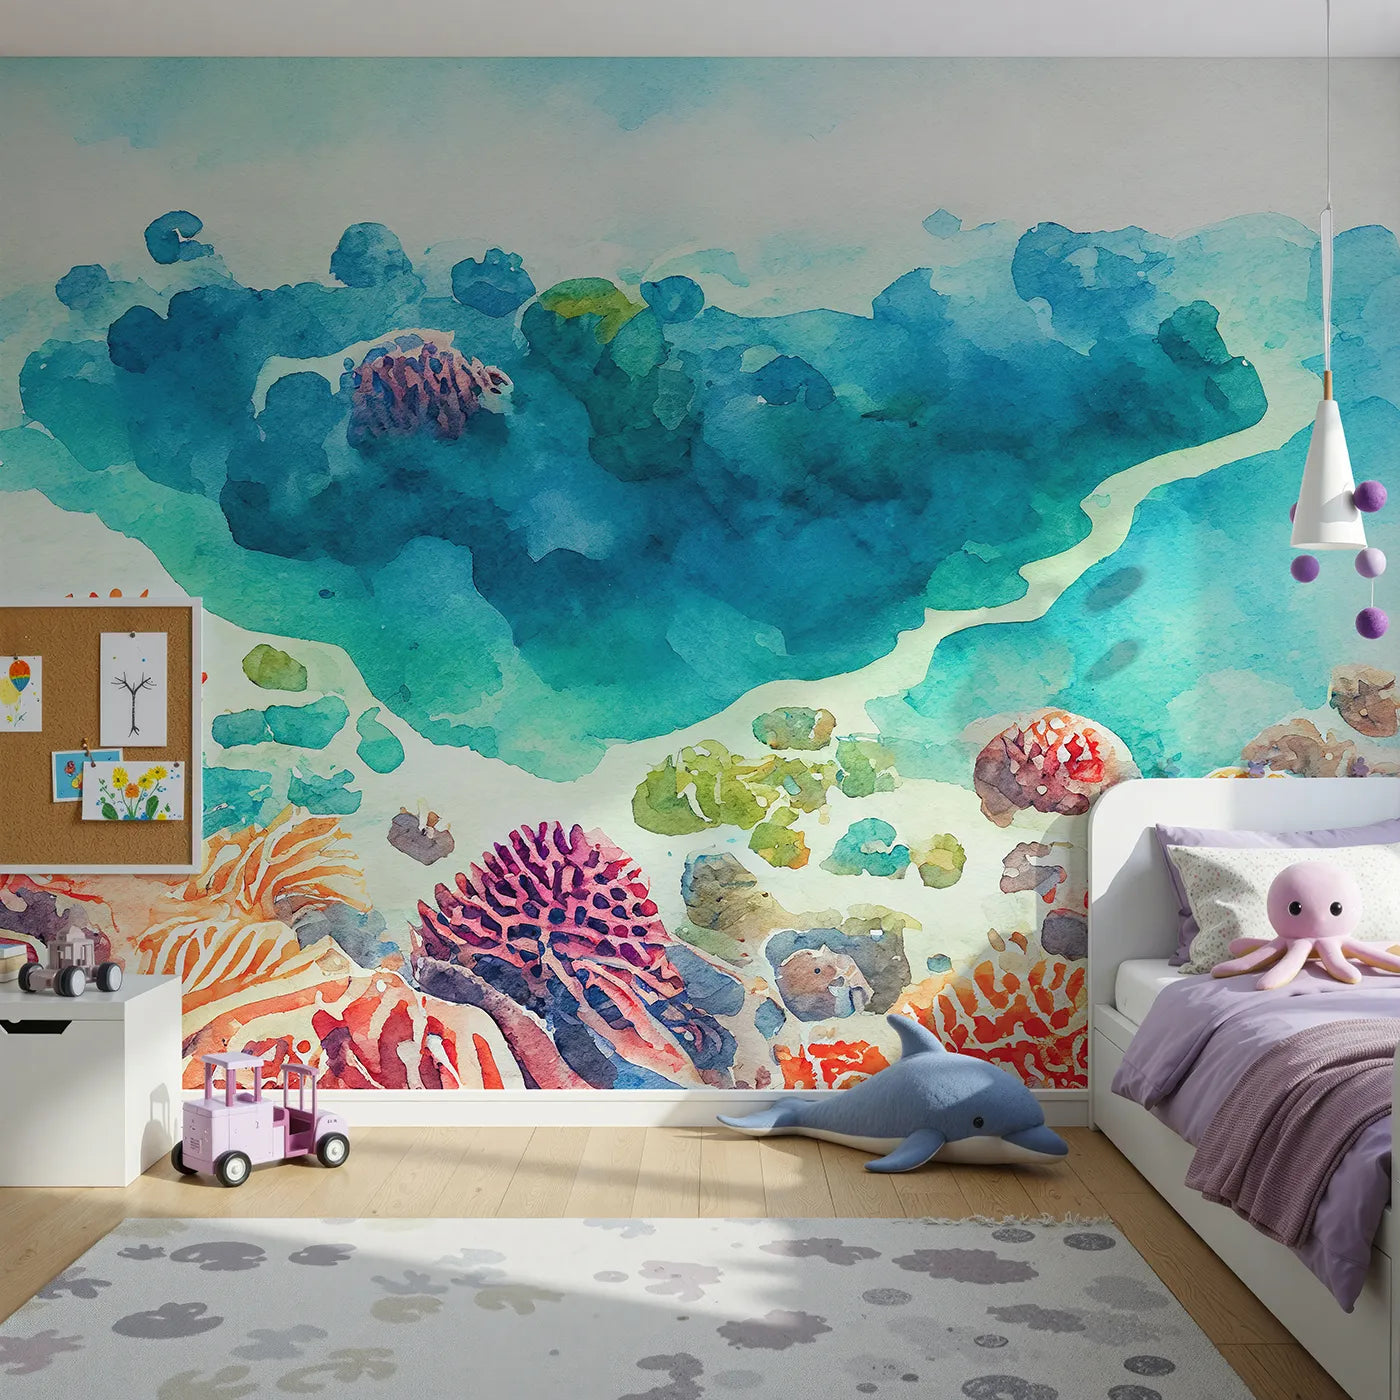
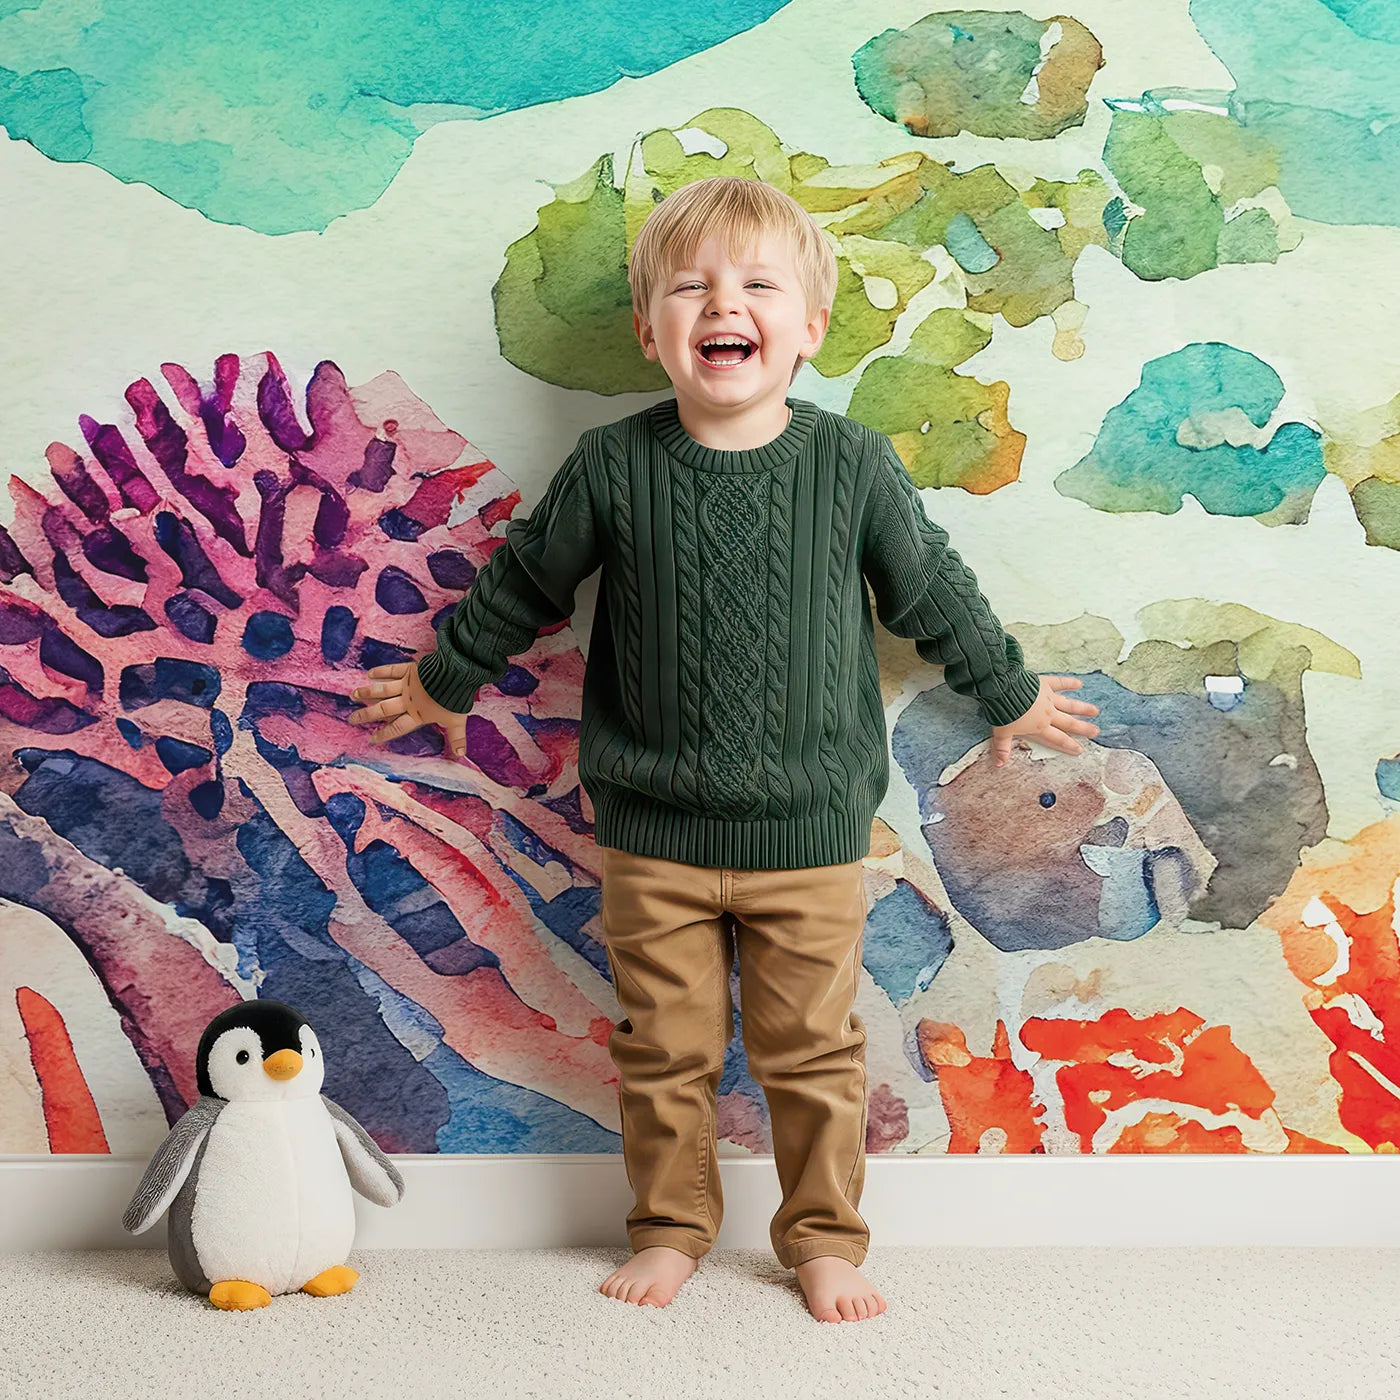
Fabric-feel & Durable Peel and Stick
🛠️ What You’ll Need: Level, pencil, scissors or knife, smoothing tool (included), step stool or ladder.
Peel & Stick is our most DIY-friendly option — here’s how to get a flawless finish, even if it’s your first time.
- Unroll & Relax: Lay your panels flat for 1–2 hours so they settle and relax after shipping.
- Mark a Guide Line: Use a level to draw a straight vertical line where your first panel will go. This keeps panels straight — even if your ceiling or floor isn’t perfectly level.
- Peel & Stick Slowly: Start at the top, peel back about 10 inches of the backing, and stick the top edge to the wall.
- Smooth As You Go: Use the included tool to gently smooth downward while peeling more of the backing. This removes bubbles and keeps things tidy.
- Align the Design: Butt the next panel edge-to-edge (don’t overlap) and align the pattern as you go.
- Trim the Edges: Once finished, trim any excess at the top, bottom, or around outlets using a sharp blade.
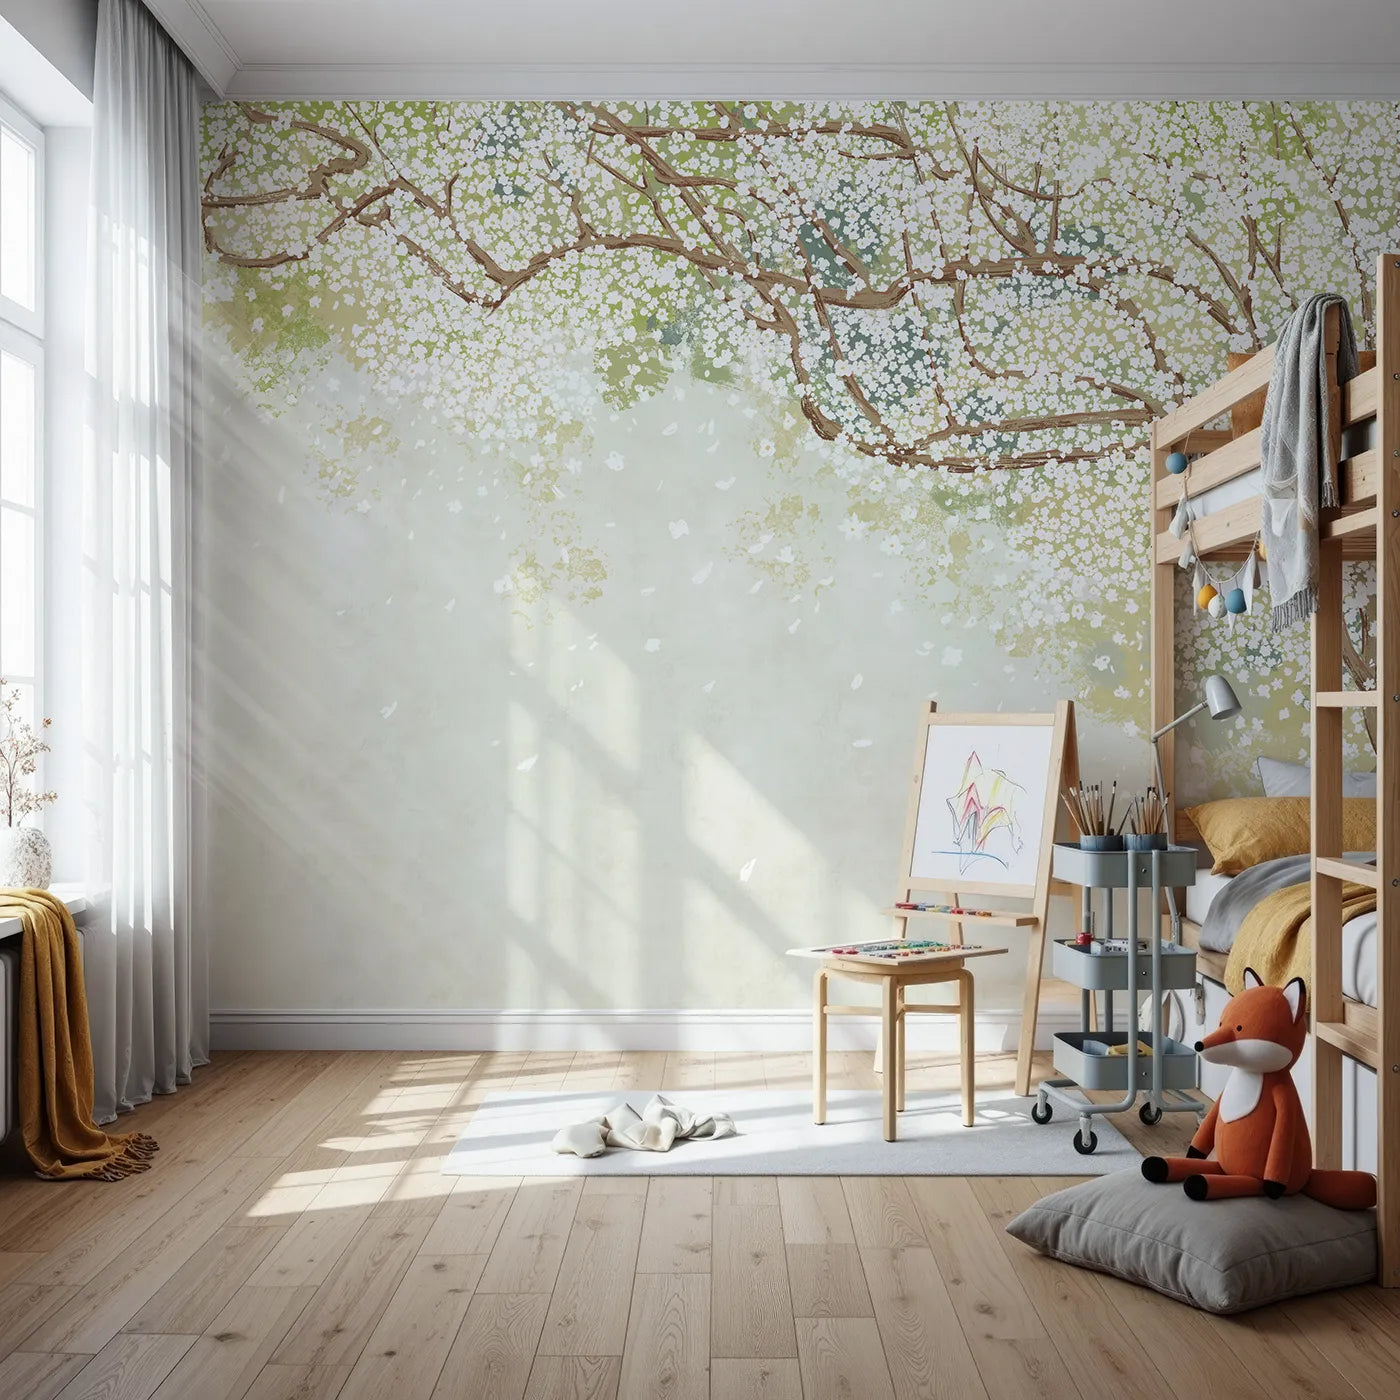
Prepasted Smooth
🛠️ What You’ll Need: Large tray or bathtub (for soaking), scissors, sponge or cloth, smoothing tool, level, knife.
Prepasted Smooth gives you a clean, modern look with less mess — here’s how to make the magic happen.
- Cut & Sort: Cut along the dotted lines between panels. Lay them in number order on the floor (1 goes on the far left).
- Soak & Activate: Submerge one panel in clean water for 30 seconds — the paste activates like magic. Let the excess drip off so it’s easier to handle.
- Align & Apply: Line the panel up to your level guide and apply top to bottom, gently smoothing with a cloth or brush.
- Edge to Edge: Apply the next panel edge-to-edge, lining up the pattern. Don’t overlap panels.
- Clean Up: Wipe away any paste with a damp sponge. Smooth again once dry to remove air bubbles.
- Trim Edges: Use a sharp blade to carefully trim excess at ceiling, floor, or around outlets.
Once everything is dry, step back and admire — smooth, seamless, and nursery-ready!